How to Make Nut, Seed, & Peanut Butters

Out of all the homemade things I whip up consistently, it has to be these butters that I find to be the most magical of processes. I still remember my first bag of peanuts I brought home almost eight years ago to blend into a butter and how I thought I had just flown to the moon. It really is empowering and oh so very affordable to take up this habit.
By making your own butters, you not only have control over the quality and type of ingredients, but you can save a good amount of money too! Especially when shopping in the bulk section of your local market. I’ve recently gotten into the habit of making a sunflower almond blend that I’ll talk about more below. It is exciting both nutritionally as well as taste-wise to mix up the butters as you please.
The only bit of equipment needed is a strong food processor or blender. This part really is essential to get those nuts, seeds, and/or peanuts to break down and release their natural oils with ease.
I hope you enjoy this tutorial and that it makes you want to get blending right away! :)
x Jessie

Choosing Nuts & Seeds
When looking for nuts and seeds to use in butters, choose ones that are organic, raw, and unsalted/unseasoned.
It’s best to roast them yourself in order to control the roasting time—plus the oils in the nuts and seeds can go rancid quickly after heating if not stored properly.
In an ideal world, all of our nuts and seeds would come from bulk bins which are refrigerated. However, room temp bulk bins from places with high turnover are my top pick. Purchasing from a local farmer/market would also be fantastic and there is always ordering in bulk online if that is best for you.
Blends: pure butters, such as almond, hazelnut, or sunflower are delicious, however, I love to make a blend.
Almonds are expensive, but they make our favorite butter.
By cutting a quarter to a half of the amount of almonds with inexpensive sunflower seeds I can save quite a bit—plus we get extra nutrition and variety in our diet this way.

Choosing Peanuts
Peanuts, categorized as a legume rather than a nut, are important to source wisely. They are more prone to mold and therefore require really dry soil to be grown in with cold, dry storage.
I’ve been ordering my peanuts for a few years now from Azure Standard up in Oregon. They source their peanuts from a farm in New Mexico with very dry land—ideal for these little guys!
They are also organic, and get driven down on a refrigerated truck once a month. It makes them a bit more eco friendly, as well as healthy, and they make the most delicious peanut butter.
I’d recommend looking for an organic peanut farmer near you, or one with ordering access, that grows low-risk peanuts in a dry climate.
Peanuts are rich in iron, magnesium, manganese, folate, biotin, molybdenum, protein, calcium, vitamin E, vitamin B3, and vitamin B6. They really are nutritious legumes!
Step 1
Line a baking tray or trays with parchment. Measure out 2 to 5 cups of nuts, seeds, and/or peanuts. If using a mixture of nuts and seeds, hold back the seeds for the first segment of roasting time. Spread out the nuts, seeds, and/or peanuts—making sure to not pile too high (stay under an inch).
For nuts and peanuts, roast in a 325F oven for 30 to 40 minutes, stirring halfway through. If adding seeds, sprinkle them on top after 20 minutes, letting them toast with the nuts or peanuts for the remaining 10 to 20 minutes.
For only seeds, roast in a 325F oven for 15 to 20 minutes, stirring halfway through and monitoring their browning. These can toast up quicker, so watch them closely the first time to see how your oven treats them. If they need longer, keep stirring and checking every 5 minutes until toasted.

Step 2
Let the nuts, seeds, and/or peanuts cool on the tray(s) until comfortable to the touch. Then add to a powerful food processor, such as this one, or a high speed blender, such as a Vitamix (I recommend the processor over the blender).
For larger batches of 5 cups, I break the blending into two sessions—divide your batches as needed depending on the size of your container.
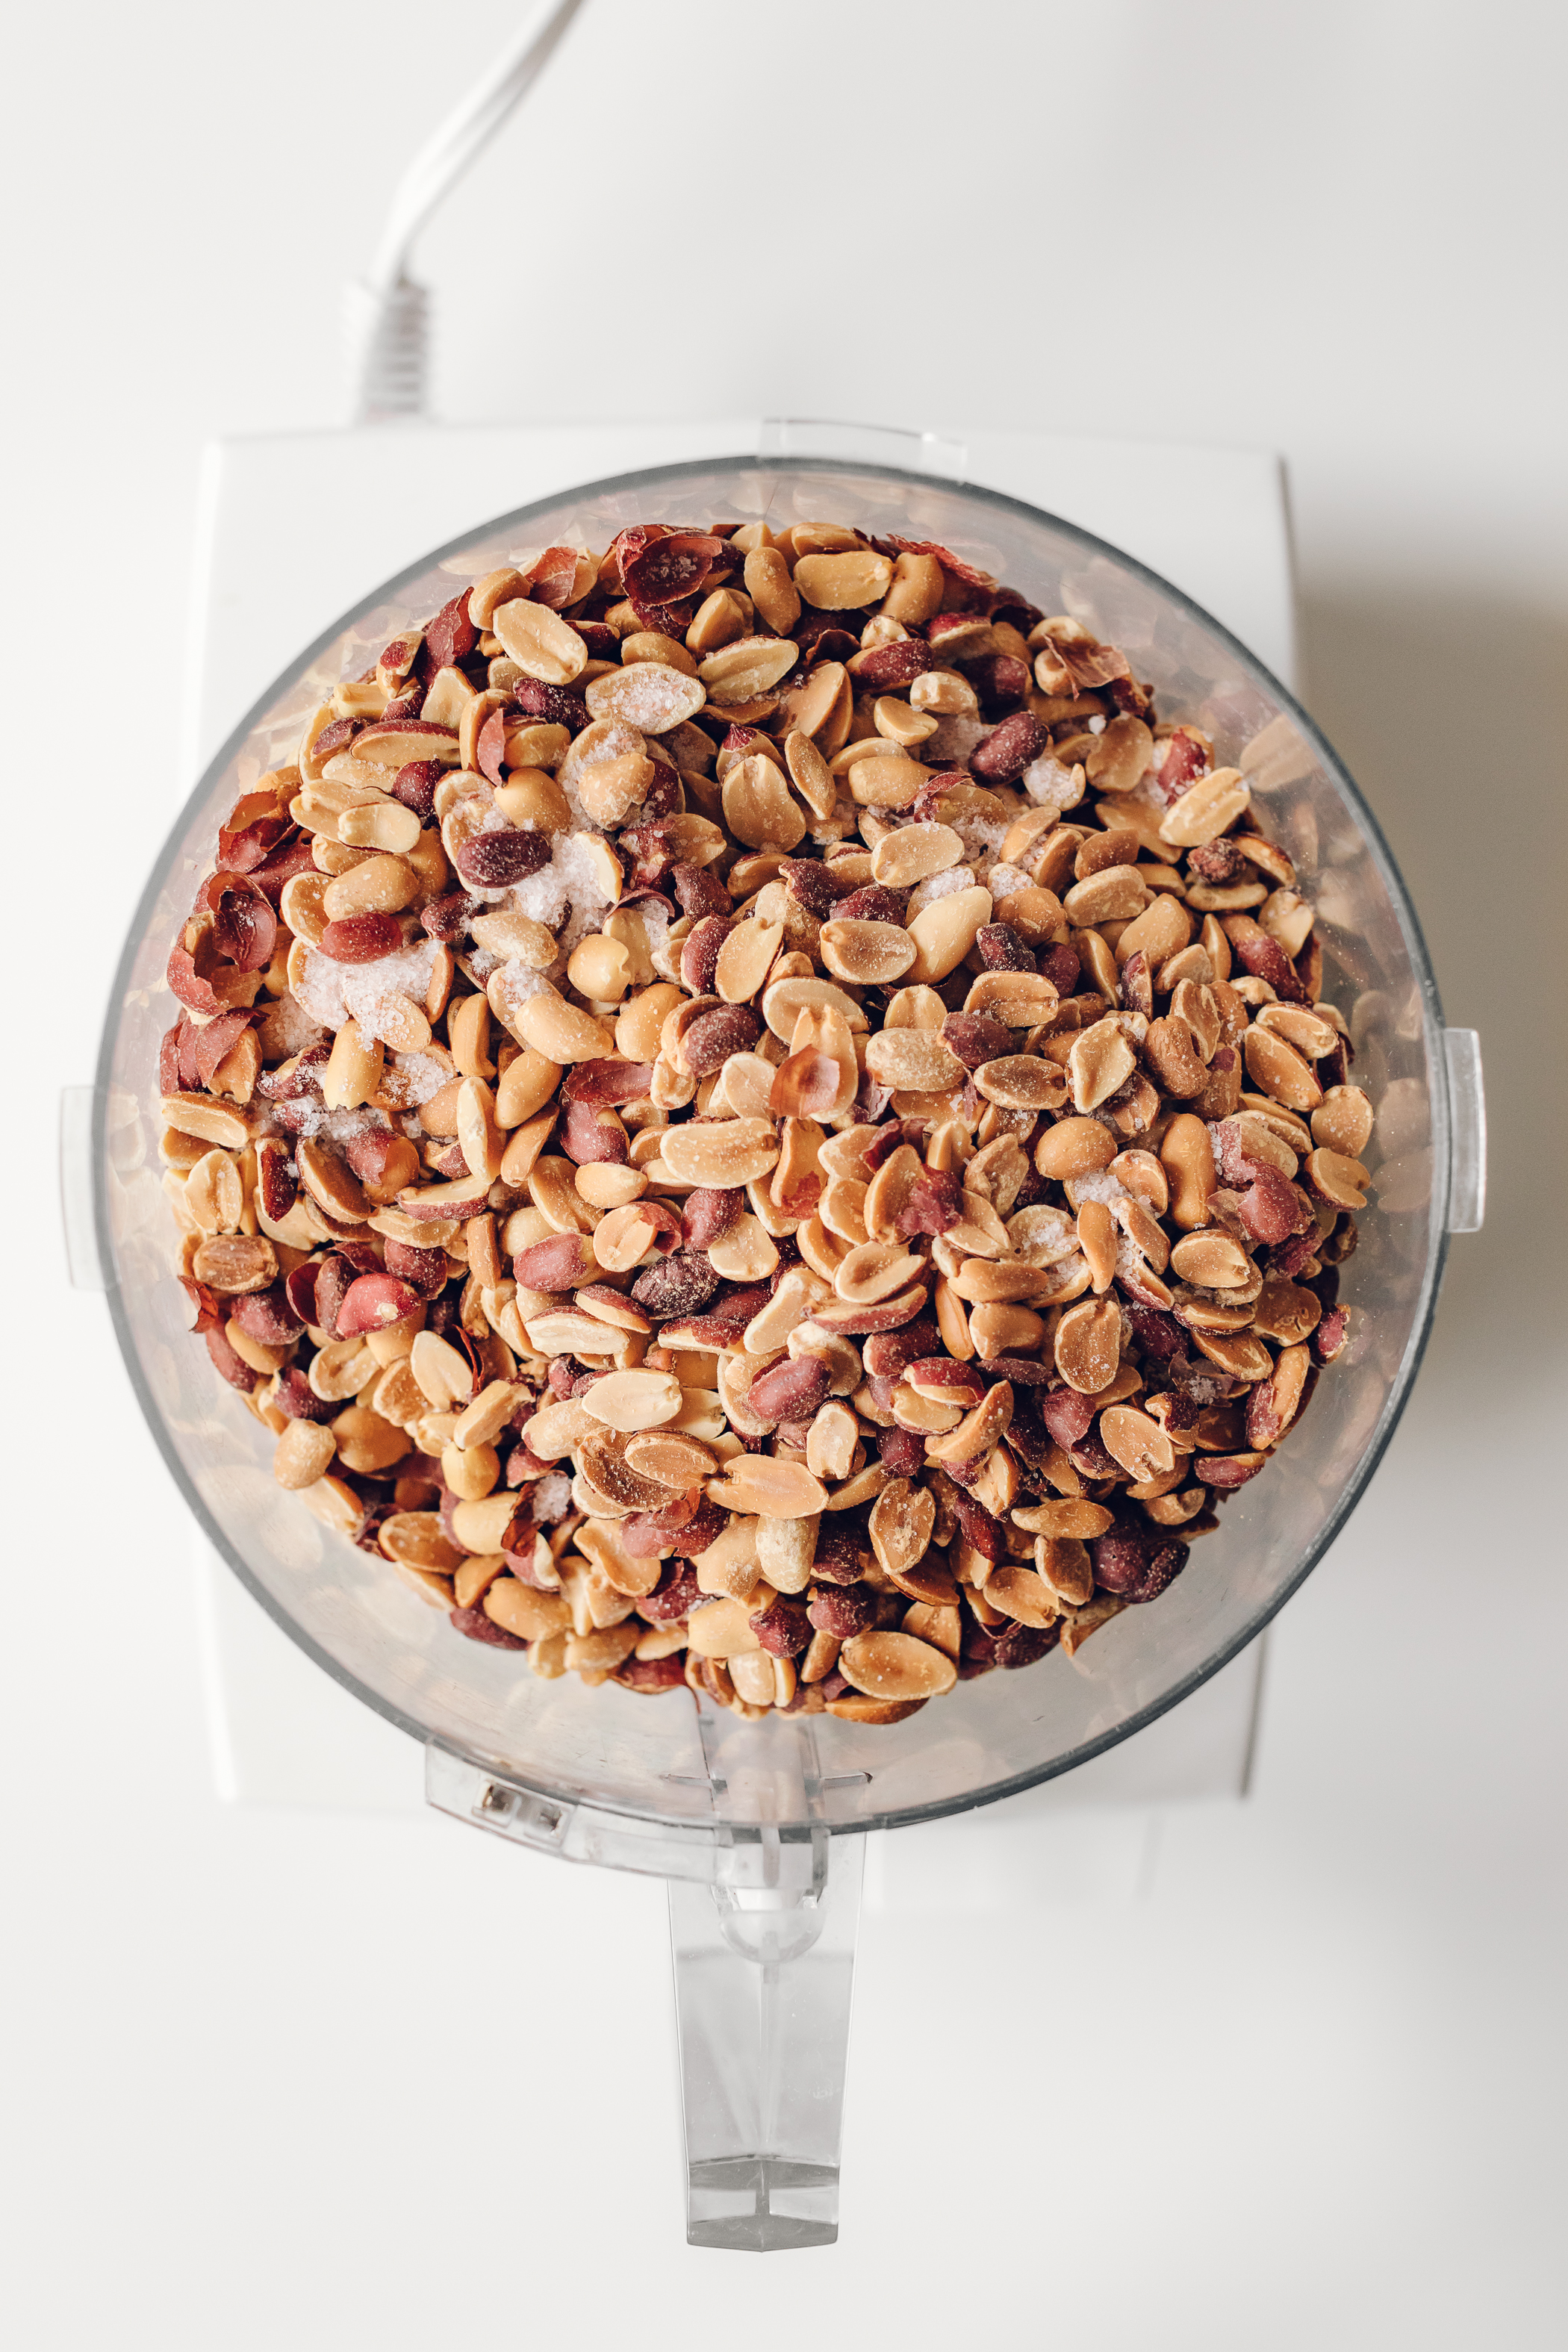
Step 3
Add a few pinches of salt if you’d like, and blend for 5 to 15 minutes. No oil is needed, the natural oils in the nuts/seeds/peanuts will be released and turn them into a creamy butter. If the blending gets held up, stop and scrape down the sides if needed, then continue blending.
Once the butter is churning really smoothly, let it go for another 20 to 30 seconds.
At this time you can add any spices if you’d like, or some cocoa powder and coconut sugar for a chocolate twist. Avoid liquid sweeteners, such as maple syrup or honey, as they will cause the butter to seize and thicken.

Step 4
Store your homemade butters in airtight glass jars. They will keep at room temperature for a month, or better yet, protect those healthy fats by storing in the fridge for up to several months (ours typically get eaten before this time).

I hope you really enjoyed this tutorial and it has you wanting to get blending!
Feel free to leave any questions you have in the comments below.